The world of thrifted furniture is a treasure trove waiting to be uncovered. Imagine walking into a store filled with unique pieces, each carrying its own story, just waiting for a little love and transformation. The thrill of discovering that perfect item, envisioning its potential, and the satisfaction of giving it a new life is an experience like no other. You might even find yourself chuckling at your own creativity as you turn a worn-out chair into a vibrant statement piece that breathes new life into your home.

Jump to:
- <strong>1. Finding Your Thrifted Gem</strong>
- <strong>2. Assessing Condition and Planning Your Project</strong>
- <strong>3. Cleaning Your Furniture</strong>
- <strong>4. Repairing Any Damage</strong>
- <strong>5. Choosing Your Paint or Stain</strong>
- <strong>6. Painting Techniques</strong>
- <strong>7. Adding Decorative Elements</strong>
- <strong>8. Sealing Your Work</strong>
- <strong>9. Styling Your Up cycled Piece</strong>
- <strong>FAQ</strong>
- What tools do I need to start upcycling furniture?
- How do I choose the right paint type?
- Can I upcycle outdoor furniture too?
For many, upcycling thrifted furniture is more than just a project; it’s a journey filled with laughter, occasional mishaps, and ultimately, beautiful creations that spark joy. I remember the first time I tackled this task; my friends were amazed at how a chipped side table became the centerpiece of my living room. With some paint and imagination, I turned what was once forgotten into something cherished. With these step-by-step tutorials tailored for beginners, you’ll be inspired to dive into your own upcycling adventures.
1. Finding Your Thrifted Gem
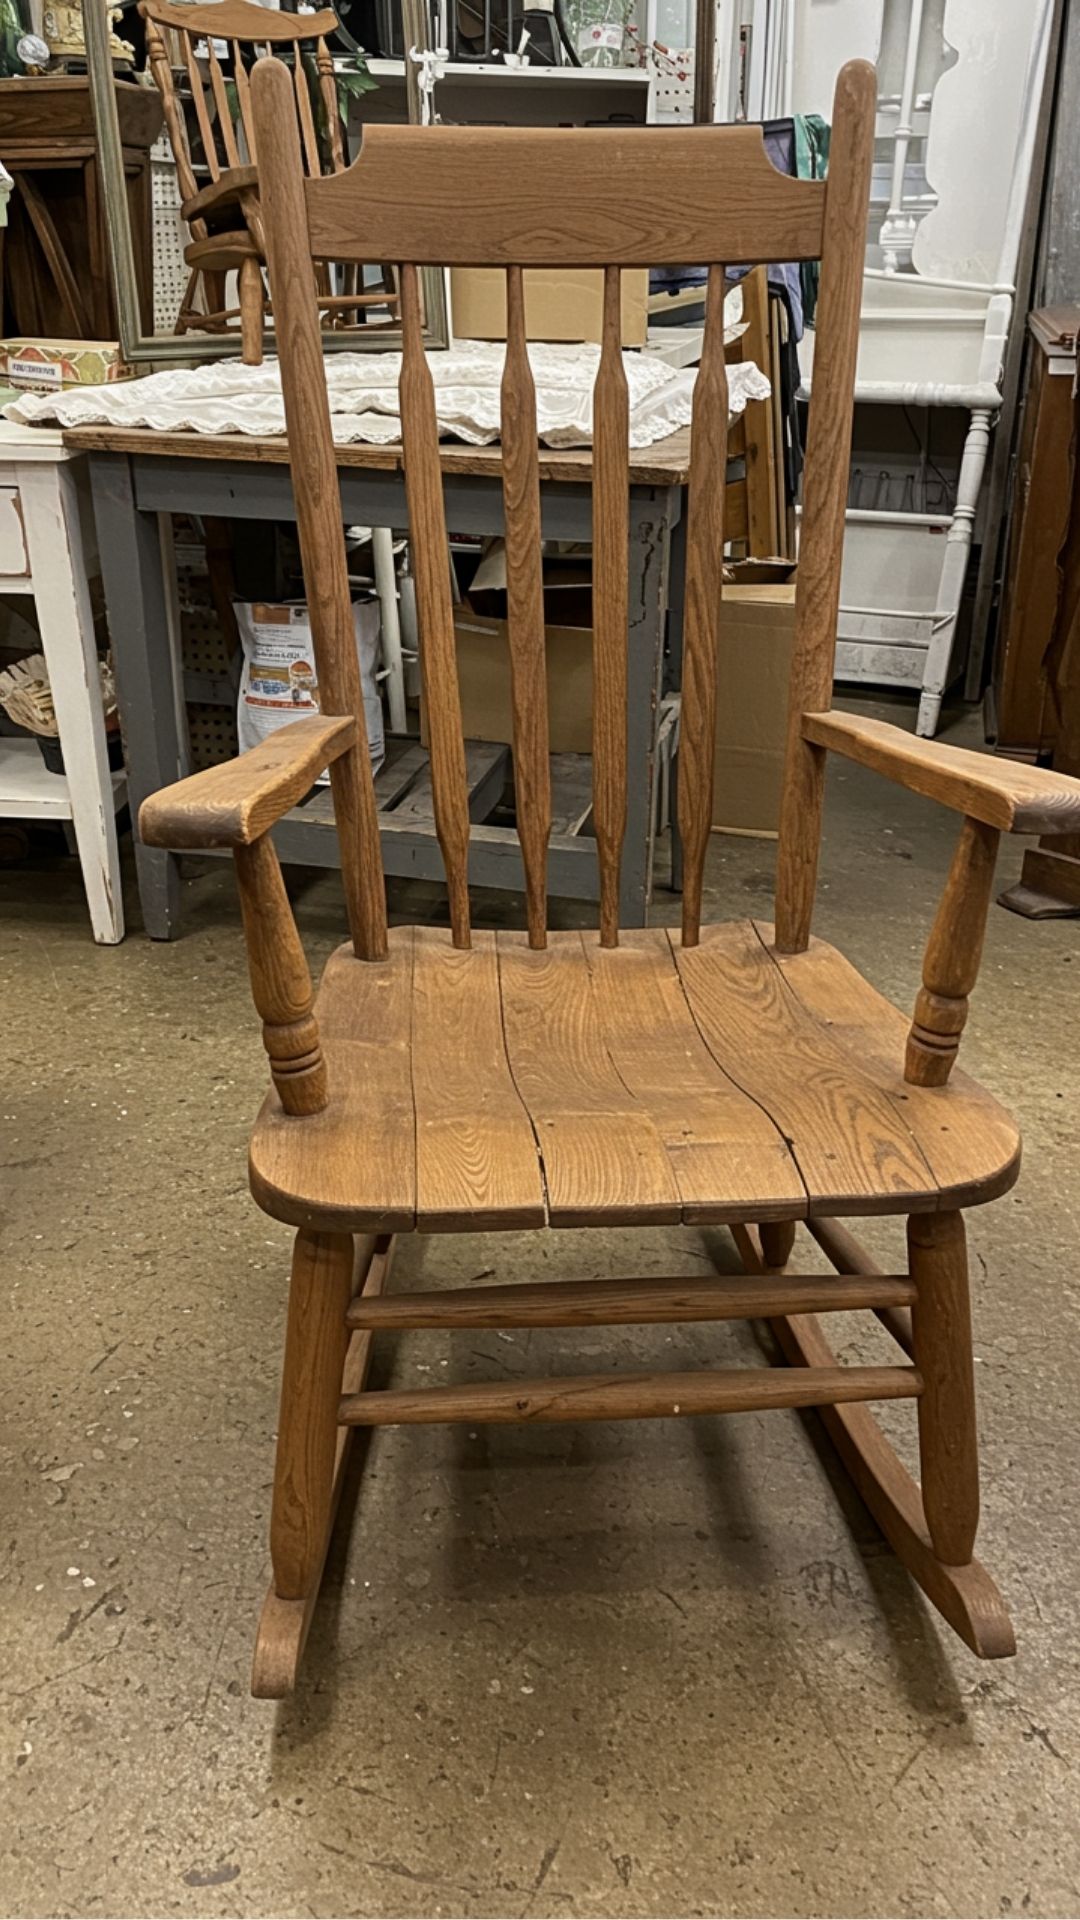
The first step in your up cycling journey is discovering that special piece of furniture waiting for you at your local thrift store or flea market. My first great find was an old rocking chair that looked more like firewood than furniture. After some searching and digging through piles of items, I finally found it: the rocking chair with great lines and potential! Friends couldn’t believe how I could see past its rough exterior.
2. Assessing Condition and Planning Your Project
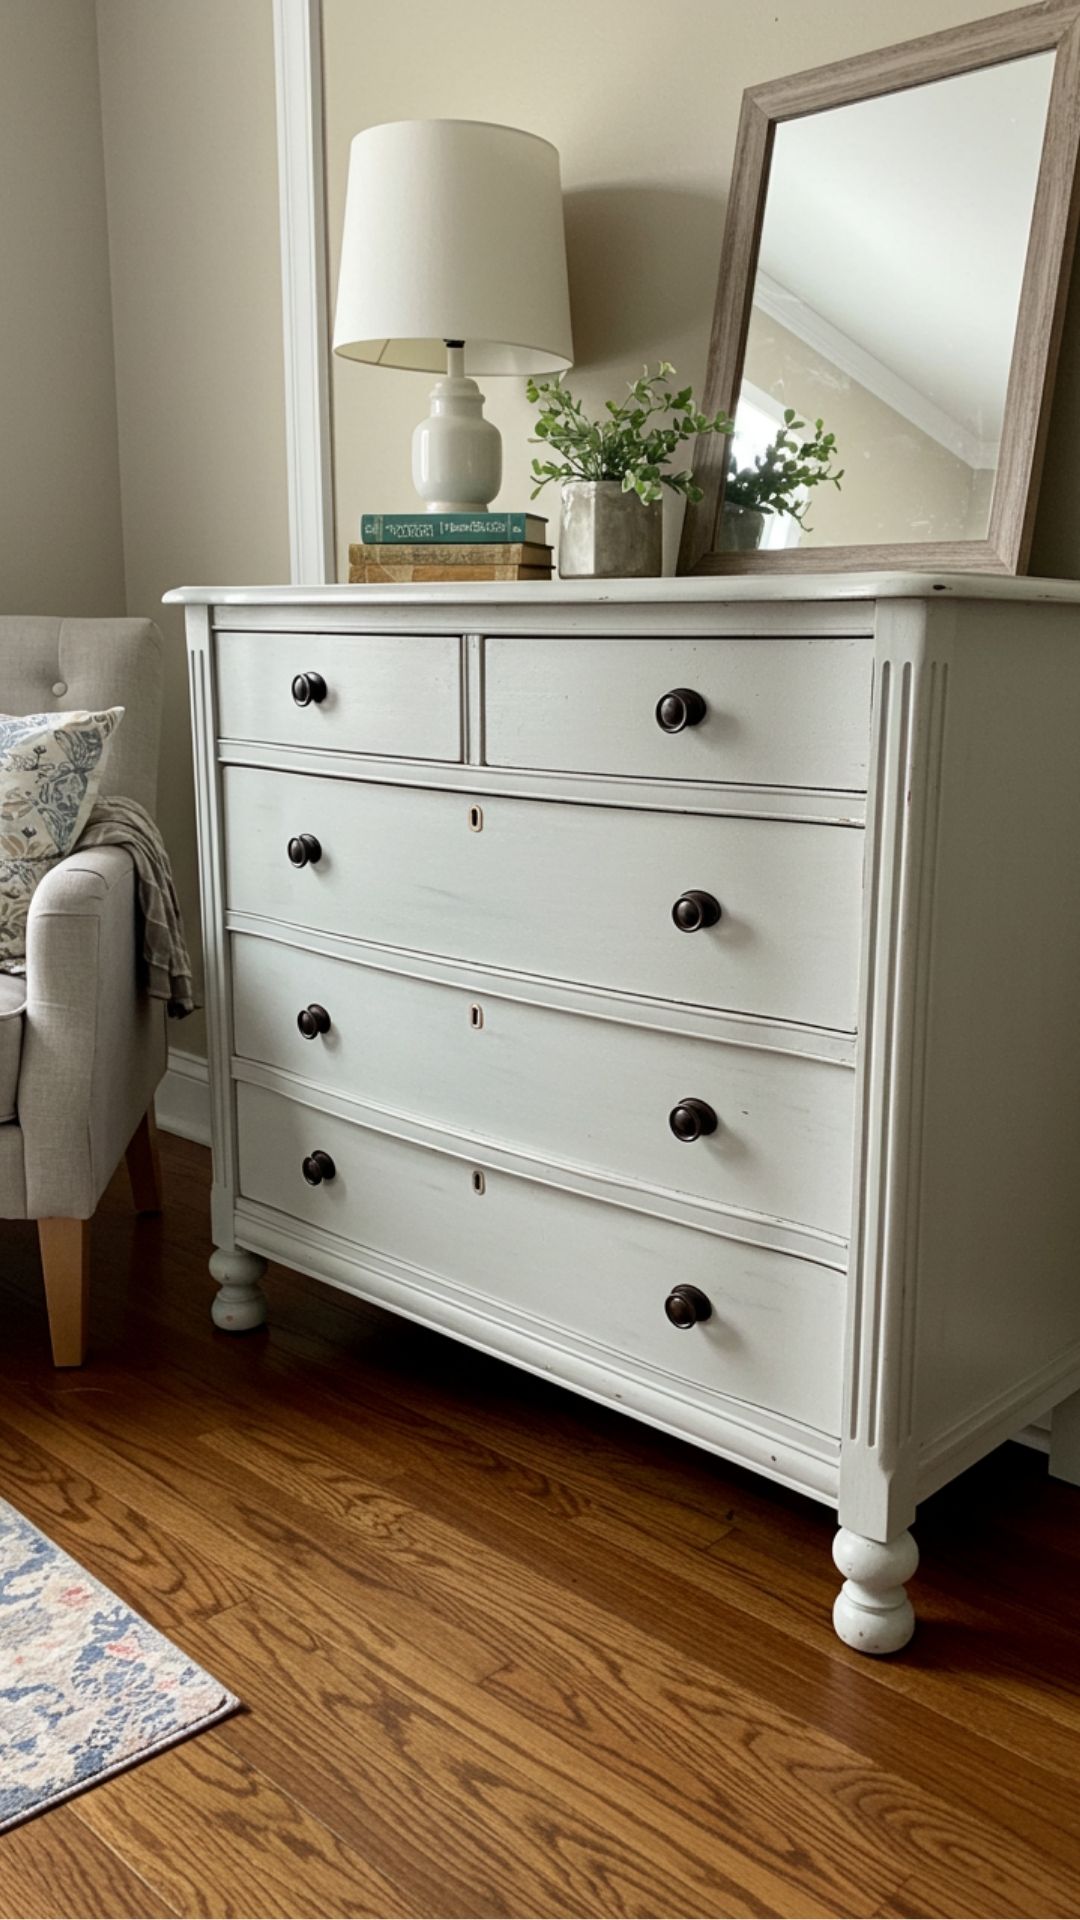
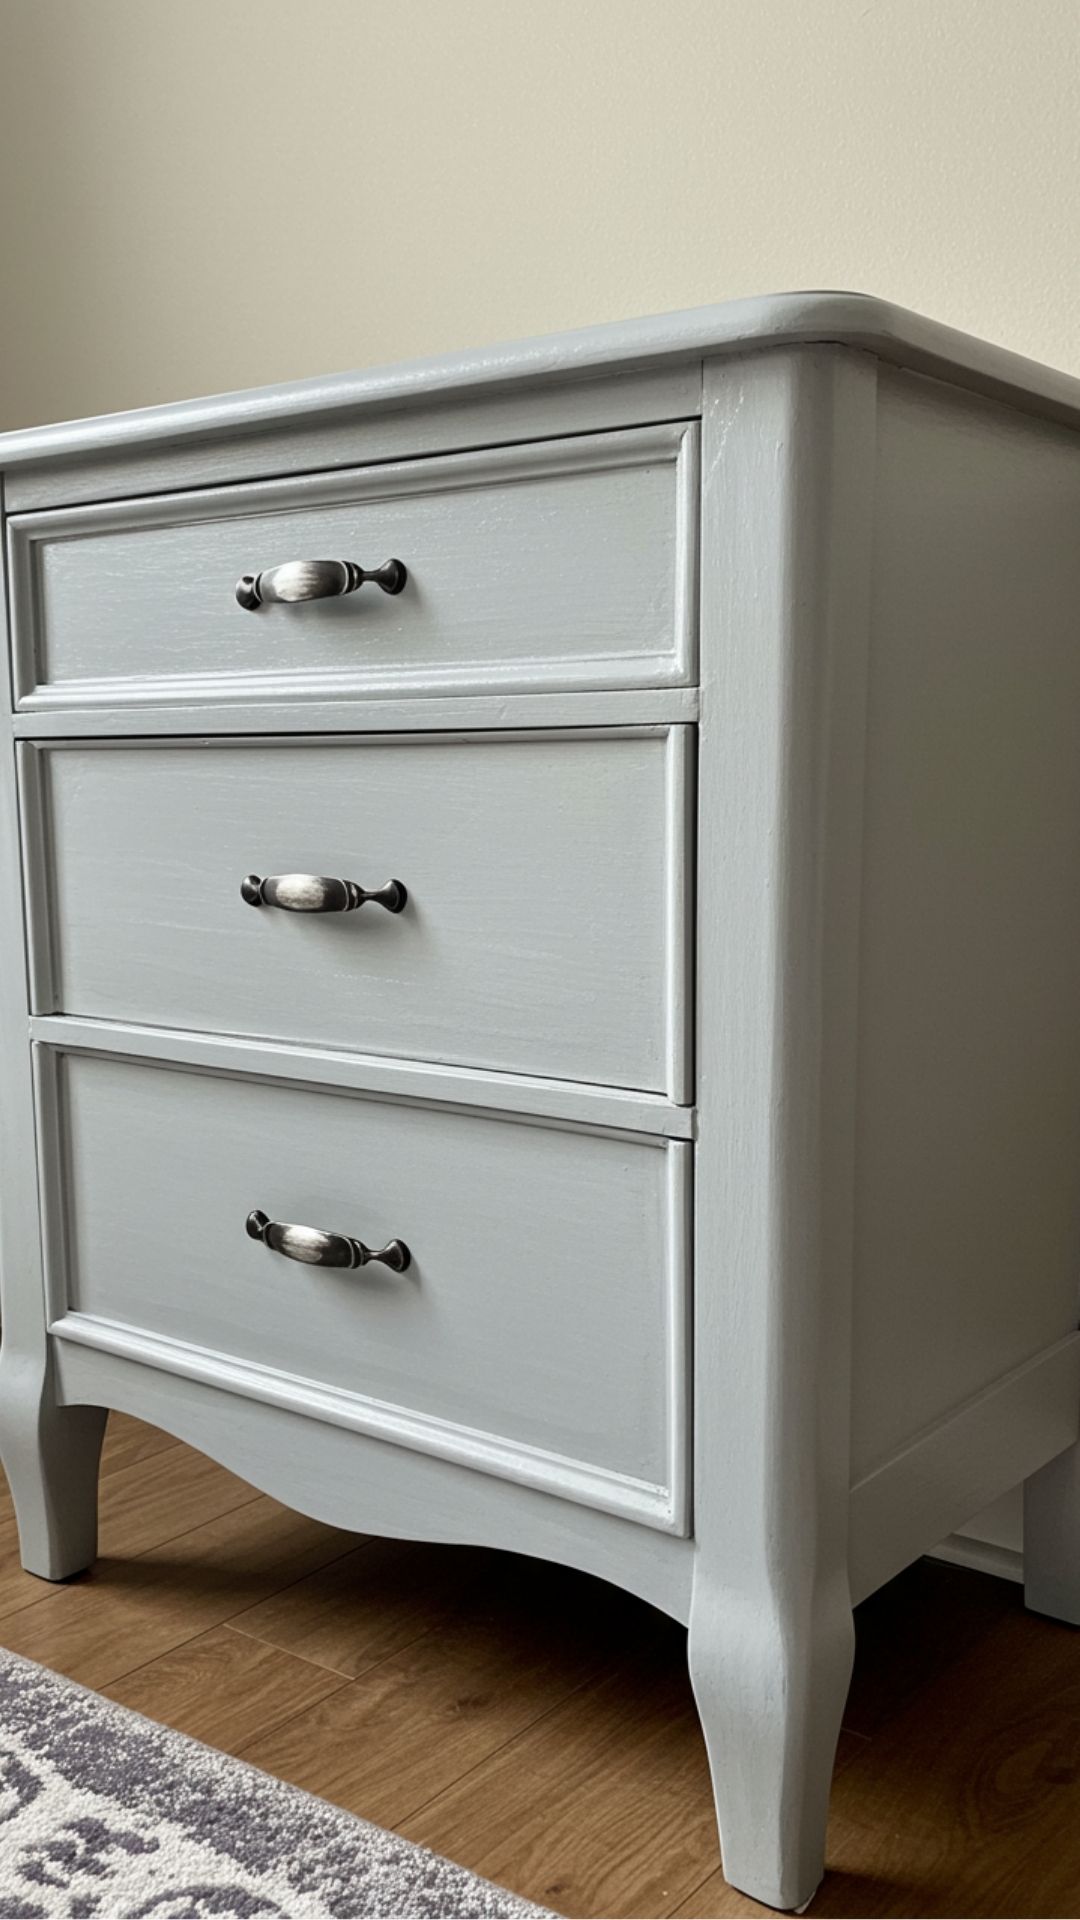
Once you’ve secured your thrifted treasure, assess its condition carefully. Check for structural integrity—shake it, wiggle it—make sure it can withstand some love! I once bought a lovely dresser only to find it wobbled dangerously when I got home. Take note of any scratches or stains; these will guide your design choices later on. Sketch out ideas based on these imperfections—what could be covered? What could be highlighted? This planning phase is where creativity starts bubbling!
3. Cleaning Your Furniture
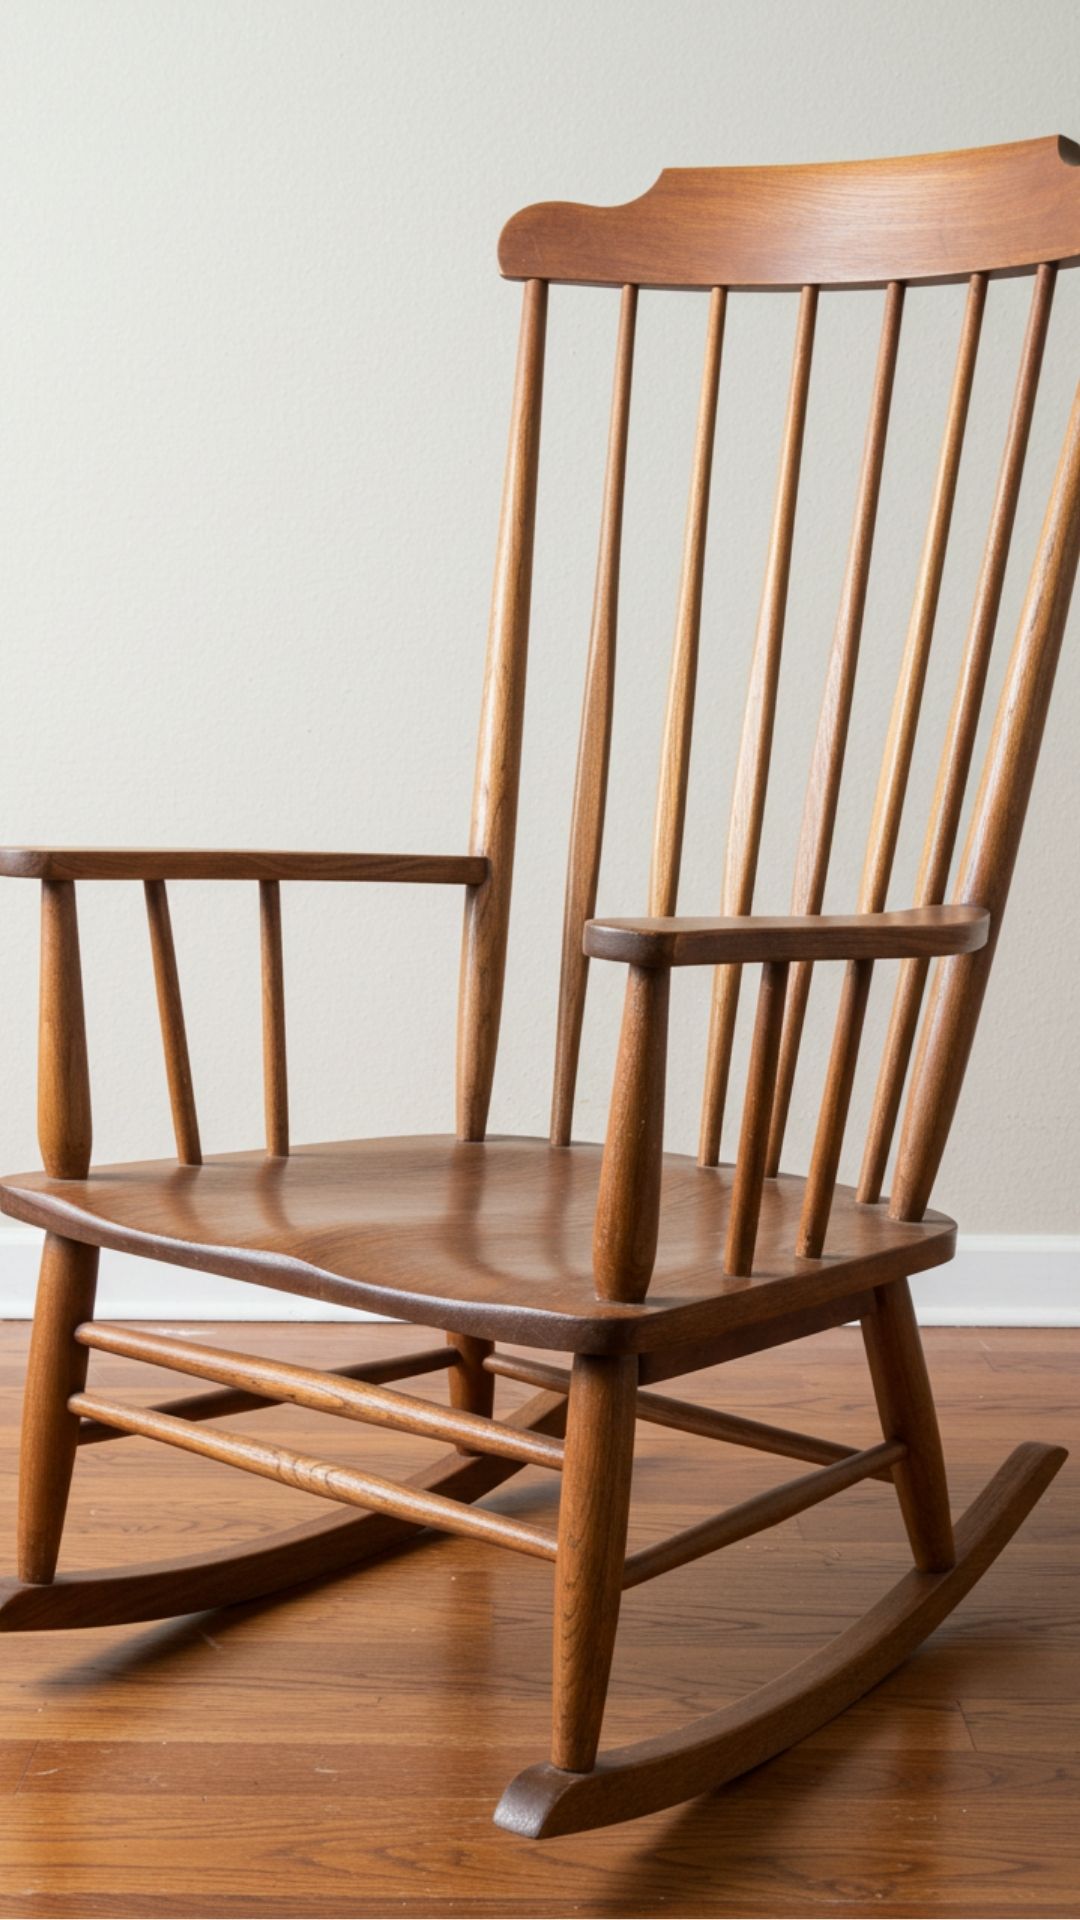
Before diving into painting or refinishing, give your thrifted item a good scrub down. A simple mixture of warm water and soap works wonders to remove grime and years of dust. For wooden pieces, follow up with some wood conditioner after cleaning for a refreshed look! When I cleaned my rocking chair, the difference was staggering—the wood gleamed like new! Remember to let everything dry completely before moving on to the next steps.
4. Repairing Any Damage
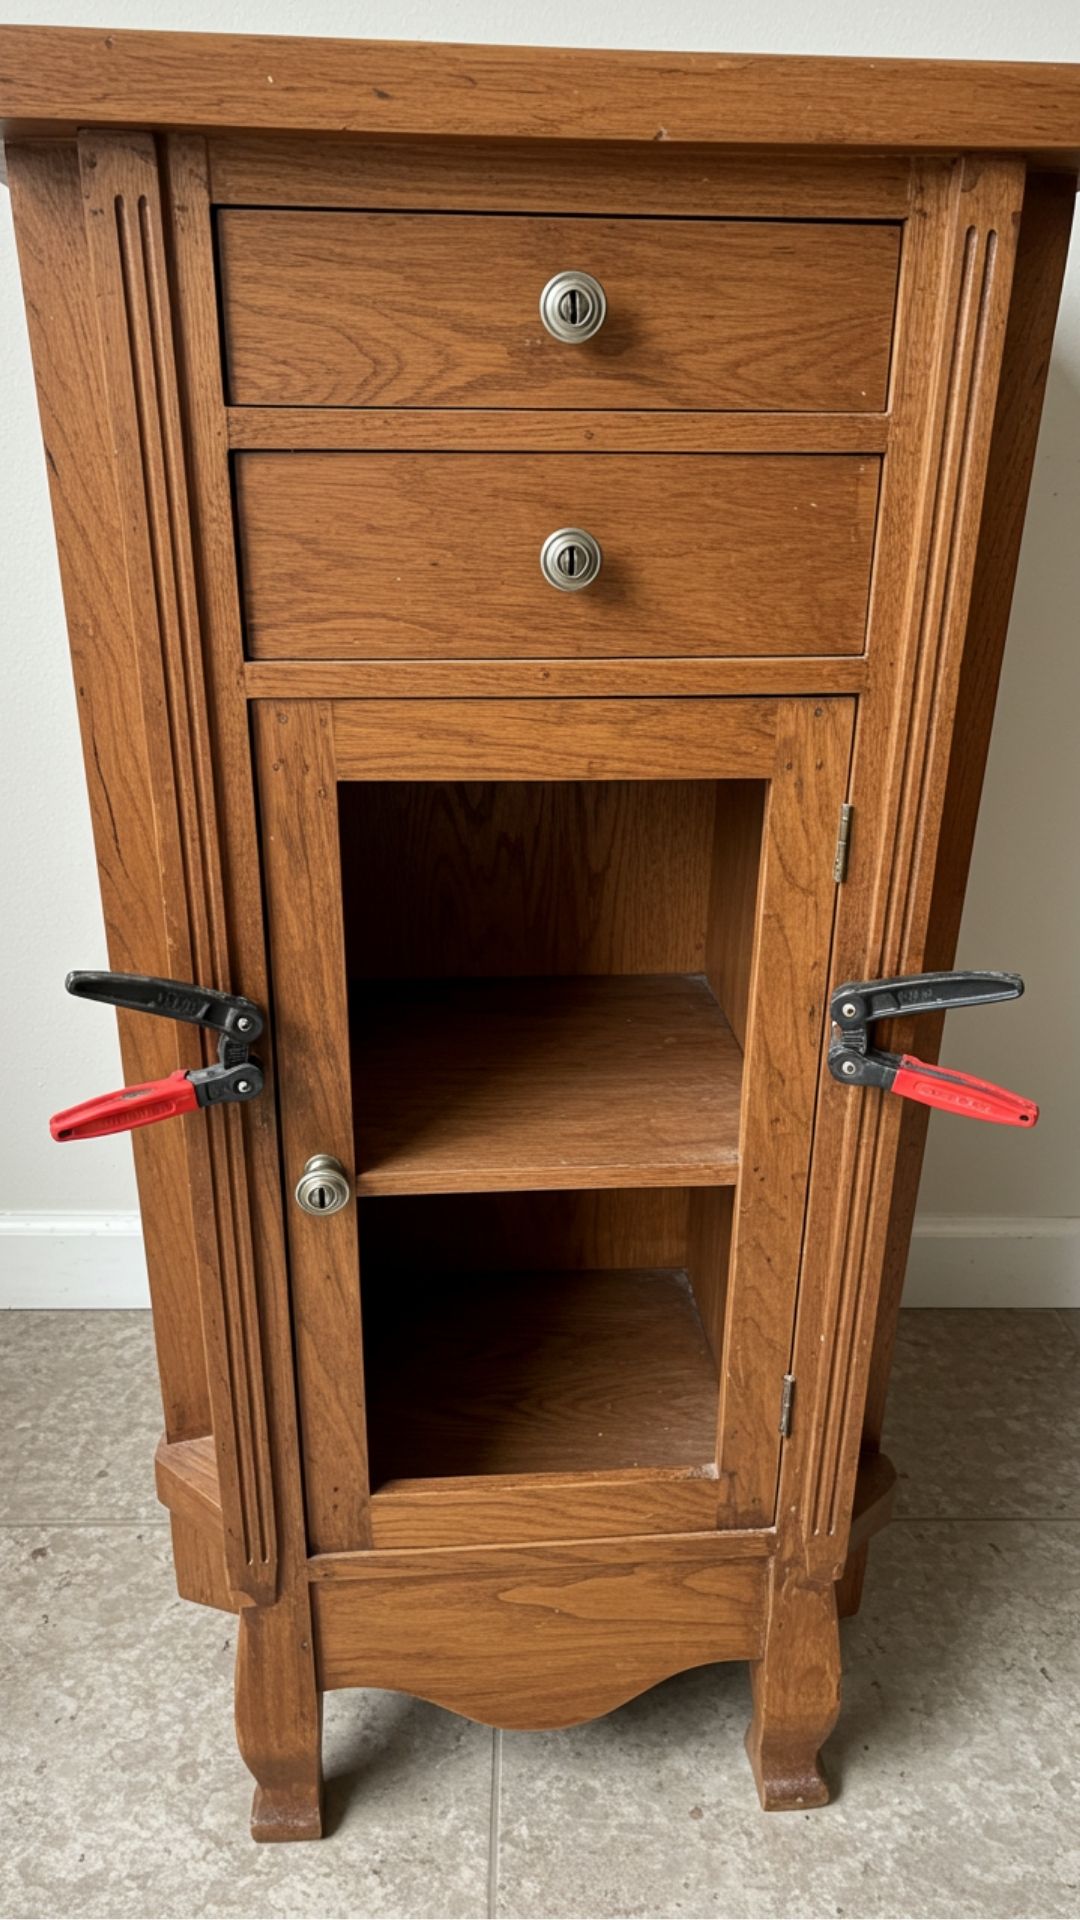
If you notice any damage during the assessment phase, now’s the time to fix it! Use wood glue for loose joints or clamps to hold things together while drying. Don’t fret over small scratches; they can add character! Personally, I’ve embraced them as part of the piece’s history rather than imperfections needing concealment. If there’s anything major missing or broken, consider creatively replacing those parts instead!
5. Choosing Your Paint or Stain
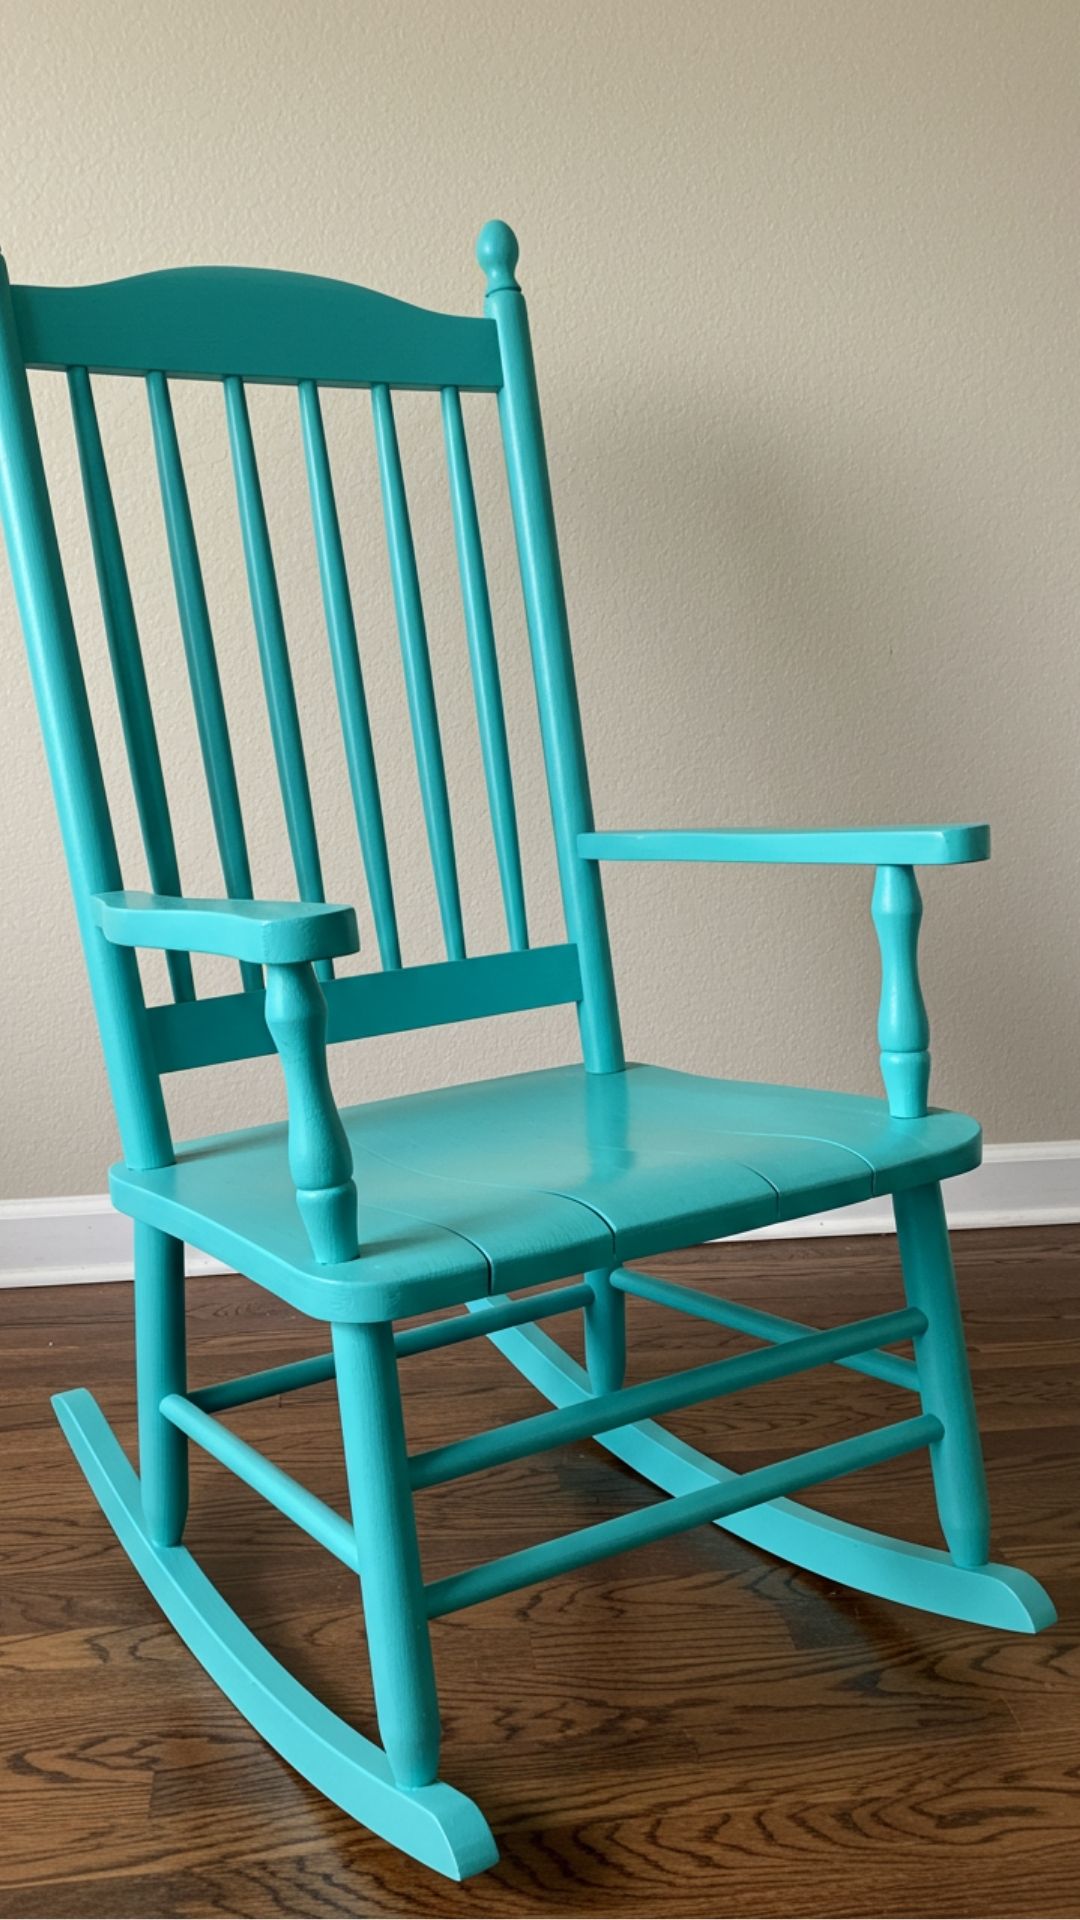
Selecting paint or stain can feel daunting because it’s where your vision truly comes alive! Water-based paints are easy to work with and dry quickly—ideal for beginners like me who can’t wait to see results! My choice for my rocking chair was a vibrant teal that made it pop against my neutral walls. Don’t forget about primer if you’re working on dark surfaces; it helps colors shine brighter!
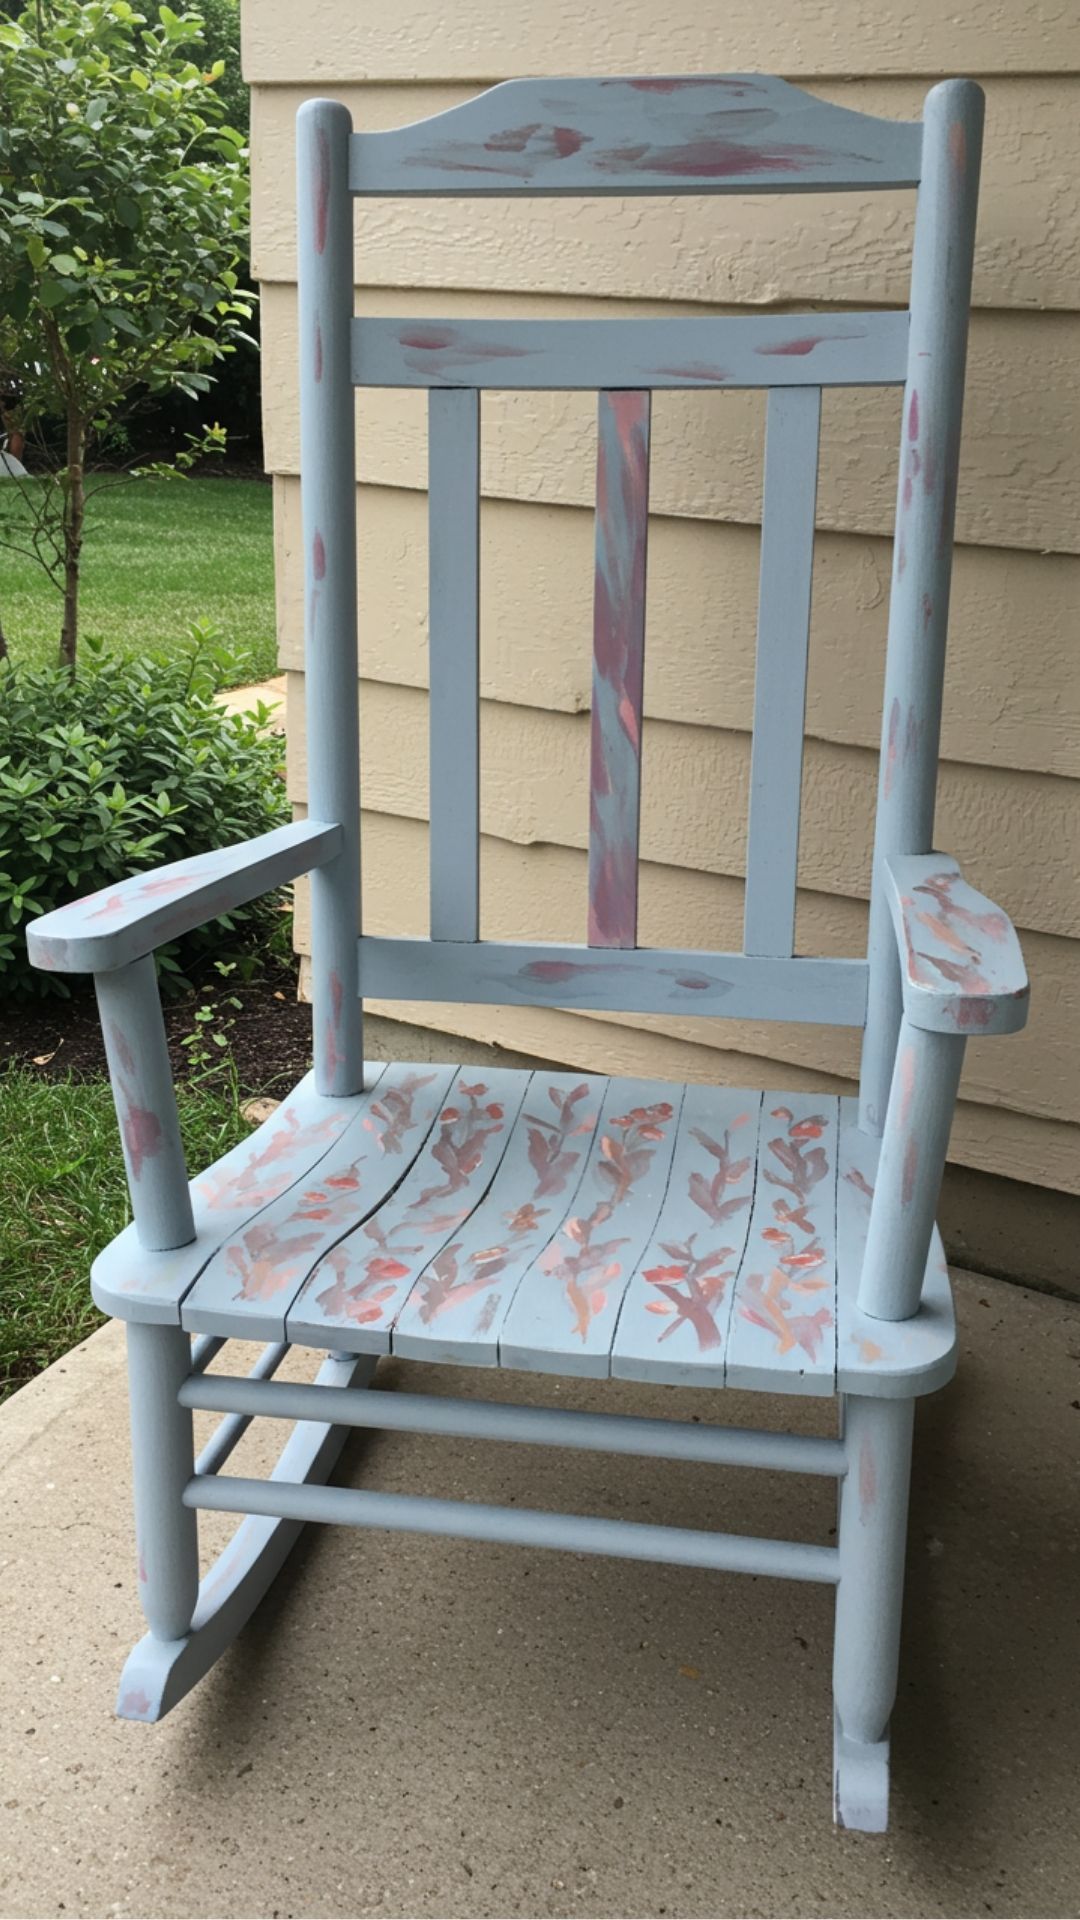
6. Painting Techniques
With all preparations in place, it’s painting time! For smooth coverage, use foam rollers or brushes designed specifically for furniture projects. Thin coats are key; build up color gradually instead of slapping on thick layers that might drip! I learned this lesson the hard way when my first attempt resembled a lumpy cake rather than sleek furniture! Allow adequate drying time between coats—often two hours works well.
7. Adding Decorative Elements
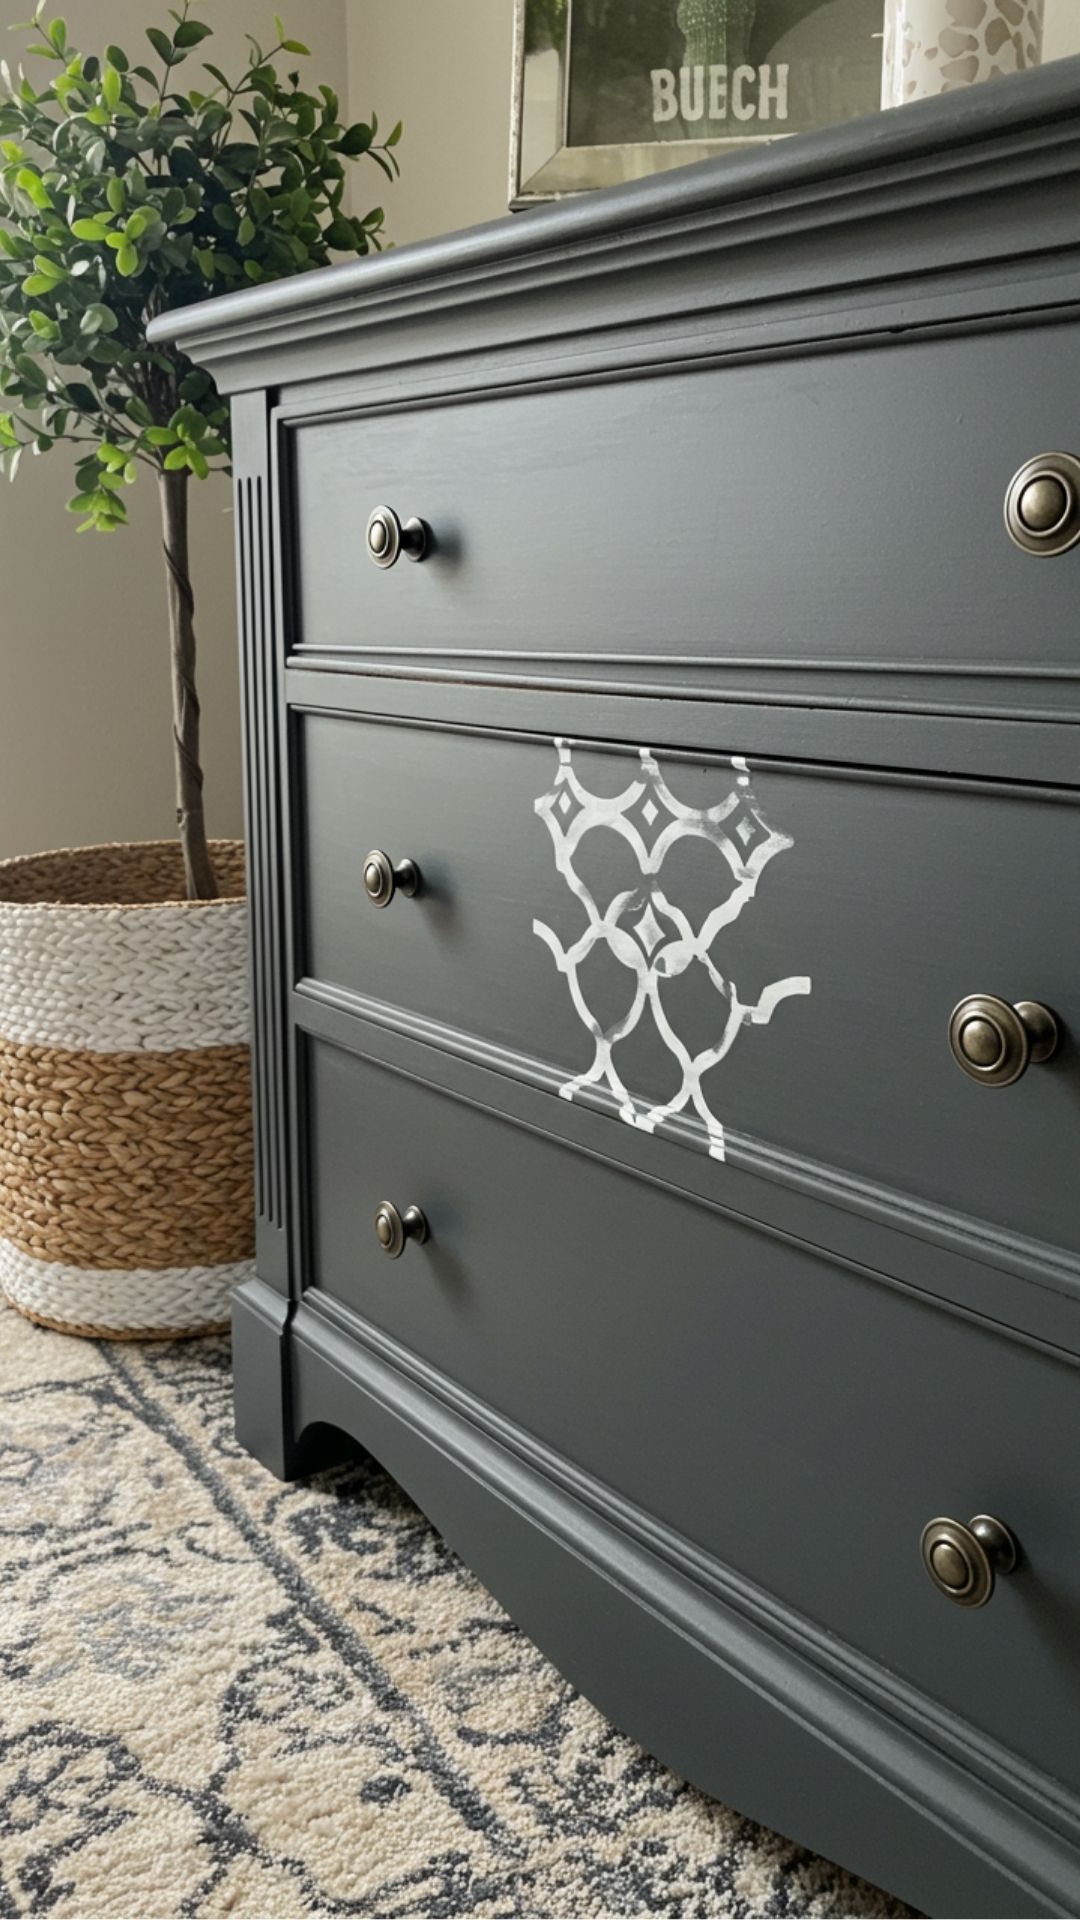
Now’s when you can have fun by adding decorative touches! Consider stencils if you’re feeling adventurous—geometric patterns can modernize any piece effortlessly! Hardware updates like new knobs or handles can also transform an ordinary drawer into something extraordinary without much fuss! When updating my dresser knobs from plain metal to funky ceramic ones, everyone noticed—and complimented—the change instantly!
8. Sealing Your Work
Once everything looks fabulous and dry (patience pays off!), seal your masterpiece using clear varnish or polyurethane depending on the finish desired—matte or glossy? This protects from wear and tear while enhancing durability over time; trust me—it’s worth it after all that effort! On my rocker, sealing made such a difference in preserving its color vibrancy even after months of use!
9. Styling Your Up cycled Piece
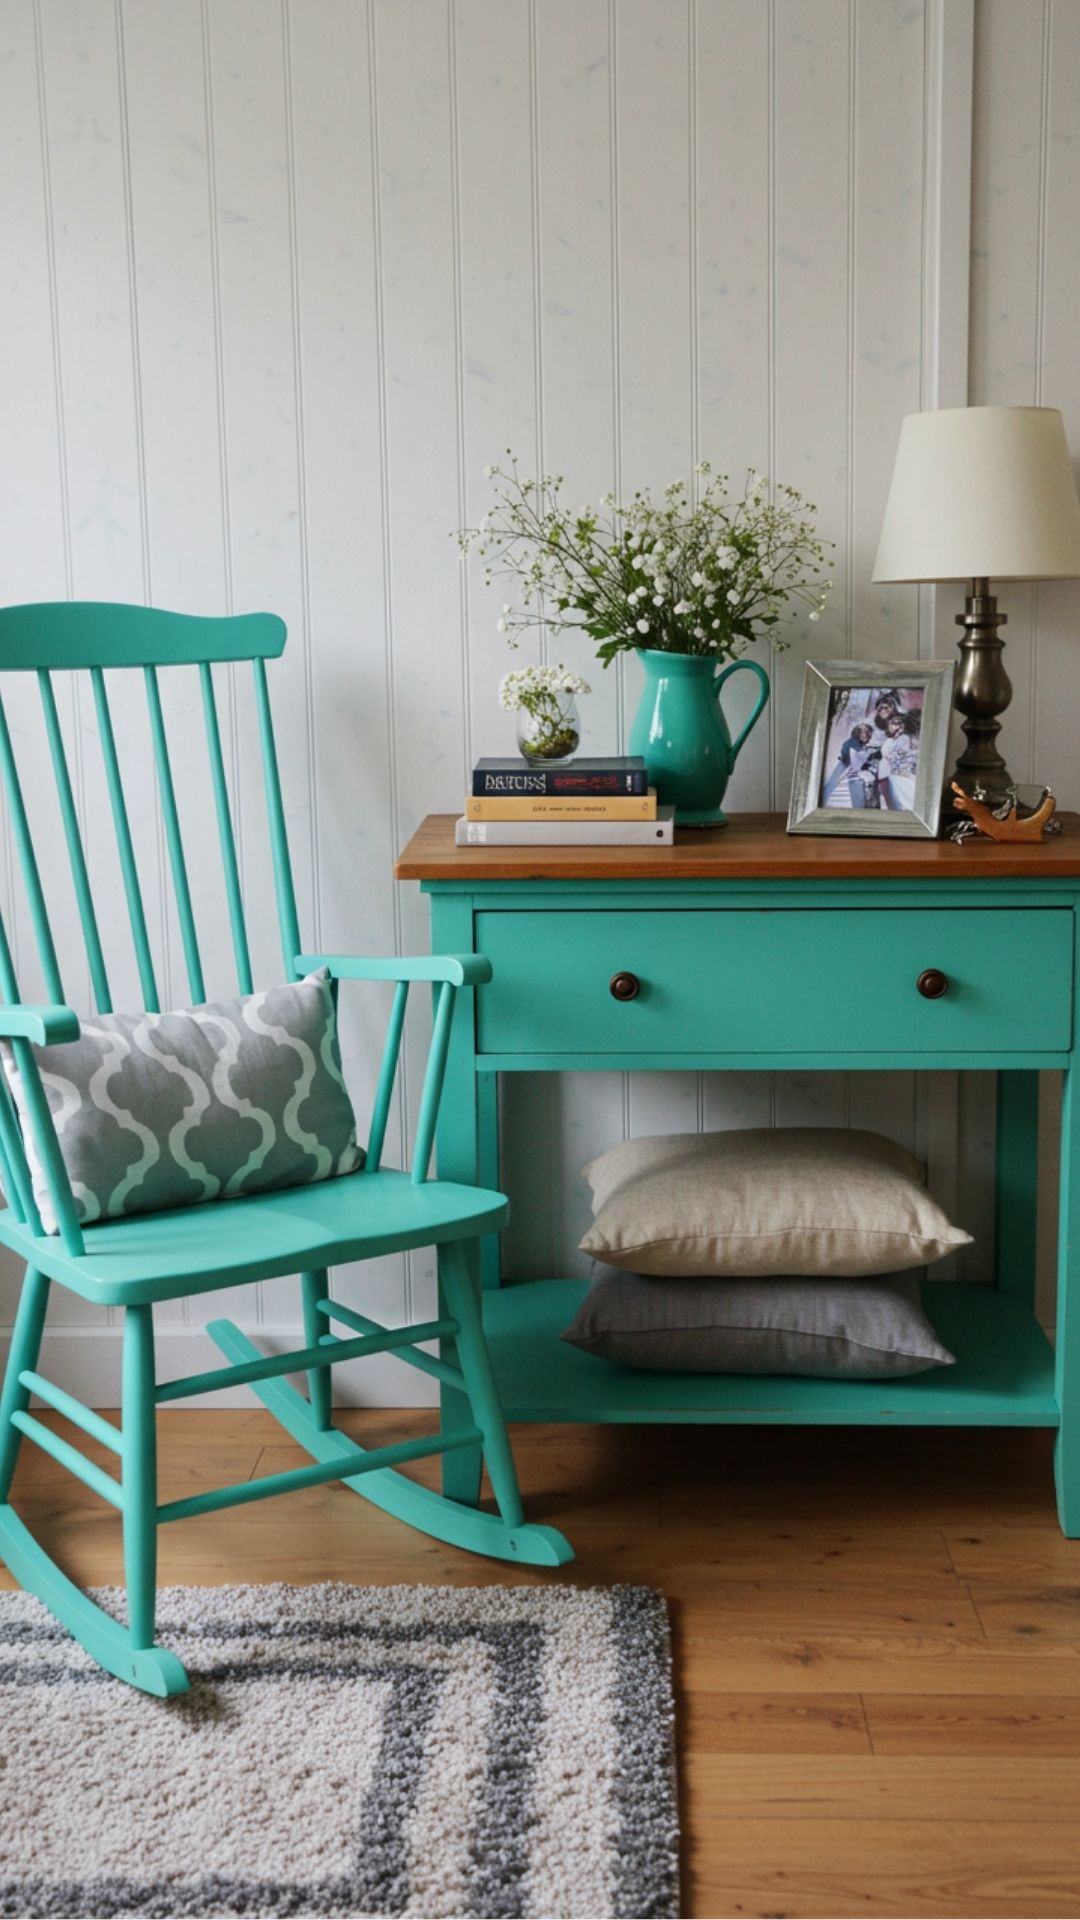
With your newly transformed furniture ready to shine, think about how best to style it within your space! Mix-and-match textures by pairing different materials—a wooden table can look stunning alongside soft fabrics like linen or velvet! My vibrant teal rocking chair now sits proudly near my reading nook adorned with soft cushions inviting friends over for cozy chats!
FAQ
What tools do I need to start upcycling furniture?
You’ll typically need basic tools like screwdrivers, sandpaper, brushes or rollers, cleaning supplies, glue, and potentially power tools depending on repairs needed.
How do I choose the right paint type?
Opt for water-based paints specially formulated for furniture as they offer durability while allowing easy clean-up without strong odors during application.
Can I upcycle outdoor furniture too?
Absolutely! Just ensure proper weatherproofing measures such as using outdoor paints designed specifically against moisture damage while maintaining aesthetics indoors/outdoors alike.